A PHP Error was encountered

Severity: Notice

Message: Undefined index: /support/knowledge_base/

Filename: controllers/support.php

Line Number: 400

A PHP Error was encountered

Severity: Notice

Message: Trying to get property of non-object

Filename: controllers/support.php

Line Number: 405

A PHP Error was encountered

Severity: Notice

Message: Trying to get property of non-object

Filename: controllers/support.php

Line Number: 406

A PHP Error was encountered

Severity: Notice

Message: Trying to get property of non-object

Filename: controllers/support.php

Line Number: 407

A PHP Error was encountered

Severity: Notice

Message: Trying to get property of non-object

Filename: controllers/support.php

Line Number: 414

A PHP Error was encountered

Severity: Notice

Message: Trying to get property of non-object

Filename: controllers/support.php

Line Number: 415

欢迎访问BOSS中文网站 - 支持 - - Sonar 8.5, Sonar 8, Sonar 7, BR-800, ME-25: VIDEO - Audio Driver Setup and Recording a Track
Support

Sonar 8.5, Sonar 8, Sonar 7, BR-800, ME-25: VIDEO - Audio Driver Setup and Recording a Track

标签: setup, record, driver, track, configure, asio

The following video will guide you through setting up an audio driver within Sonar 8.5, Sonar 8 and Sonar 7. After completing the driver setup, the "Audio Track Setup" section below will guide you through creating and setting up audio tracks for recording.

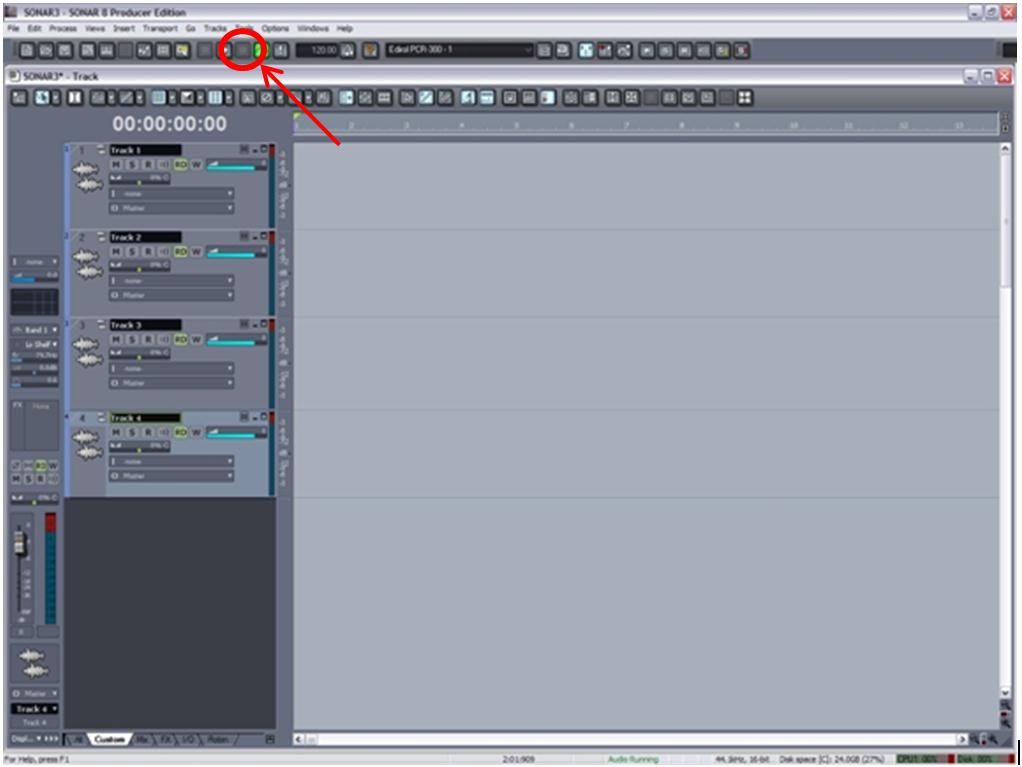
Driver Setup (ASIO):


Audio Track Setup:

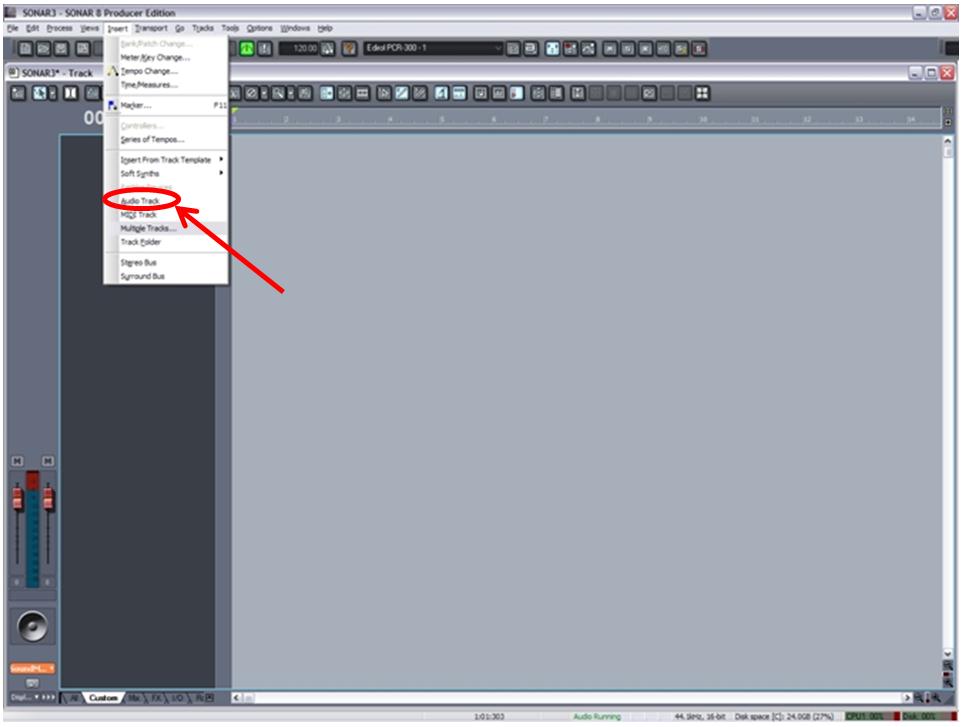
  1. The first step is to insert the audio tracks that you would like to record to. Click on "Insert" in the menu bar and then select "Audio Track".

    1.jpg
     
  2. In the “Track Count” section, select the number of tracks that you wish to insert.

    2.jpg

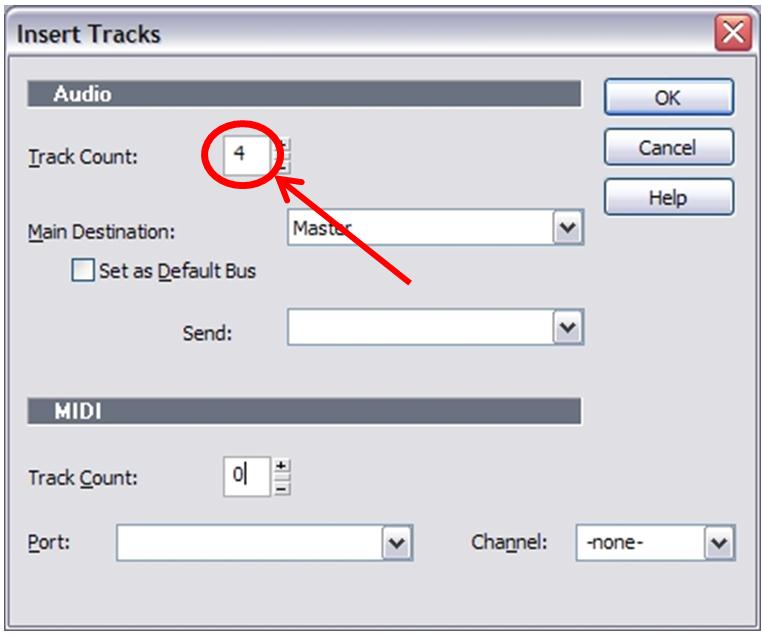
  3. Click on “OK”. The amount of audio track(s) that you selected in "Track Count" will be inserted into your project.

    3.jpg
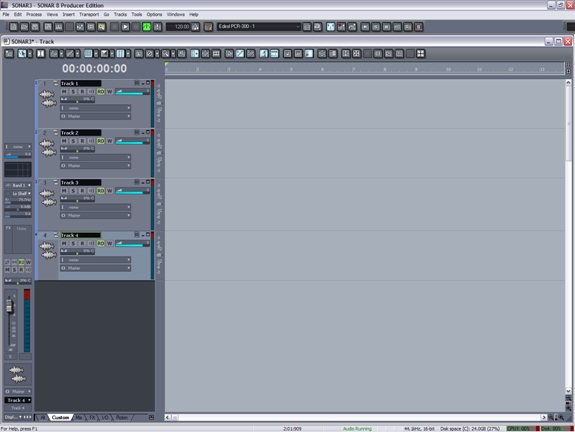
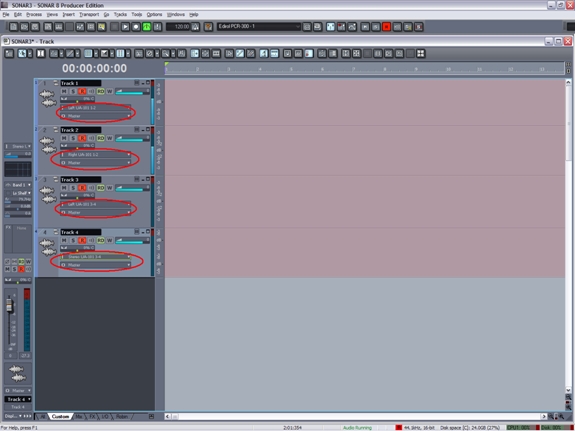
  4. Inside each track, click on the “I” symbol and select the correct audio interface inputs for each track. To keep things simple, set track 1 to input 1 of your audio interface, track 2 to input 2, and so on.

    4.jpg
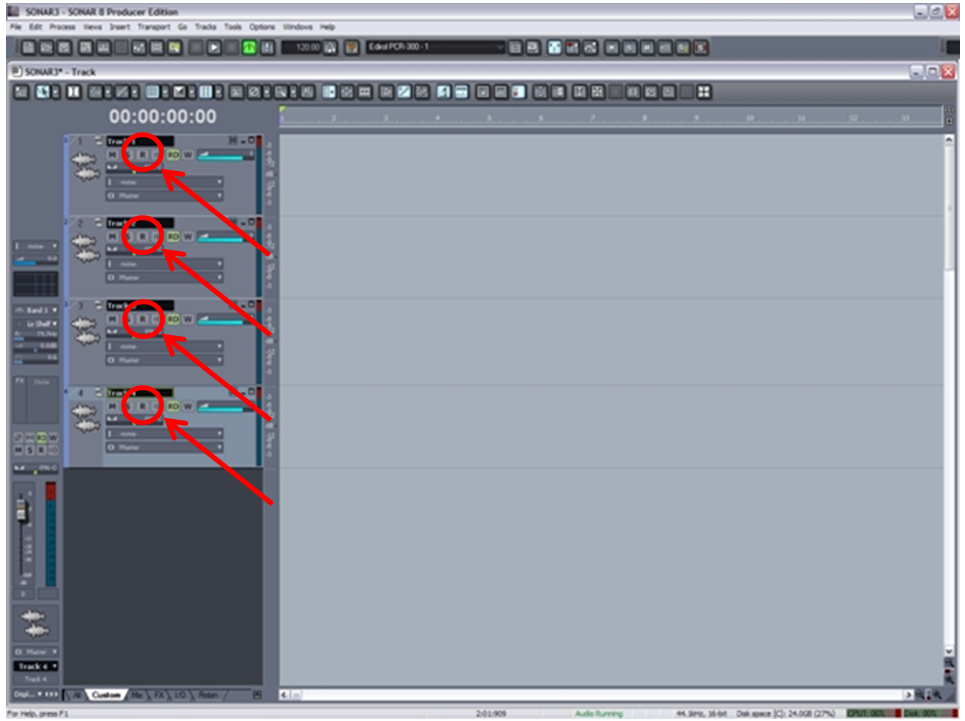
  5. Arm the tracks for recording by clicking on the “R” button of each track so that the button turns red.

    5.png
  6. Press Record to begin recording.

    6.jpg 

支持

快速链接